Discover opening hours, directions, entrances, and best time to visit
Where and when to go

How do you get to the British Music Experience?
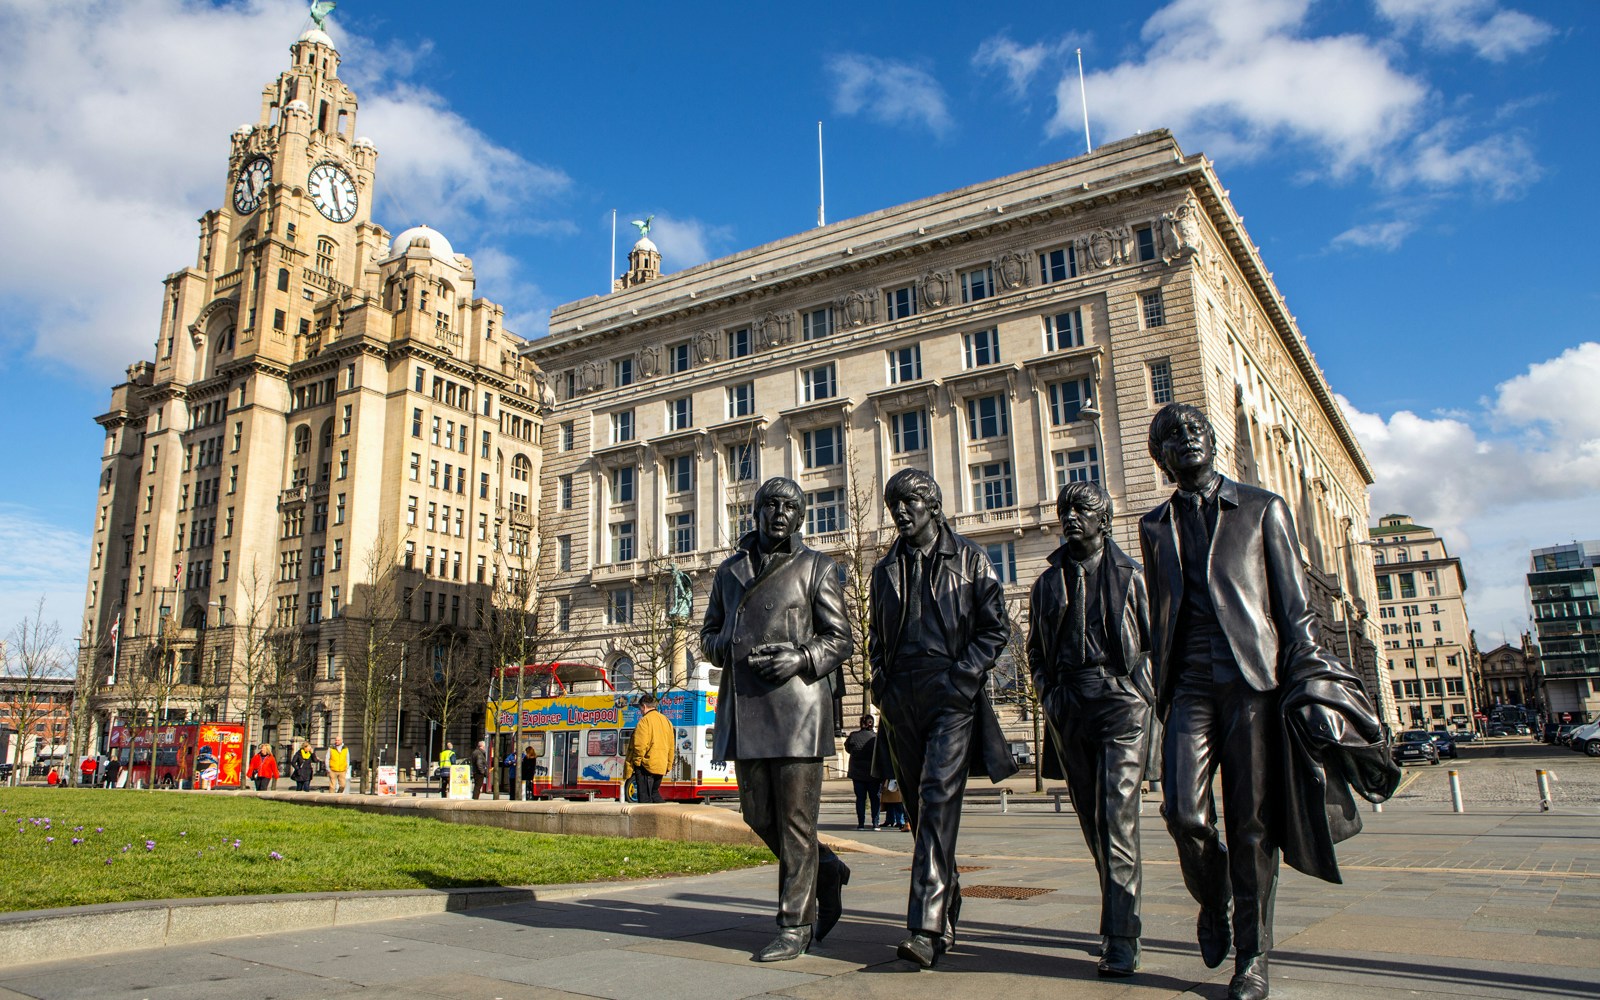
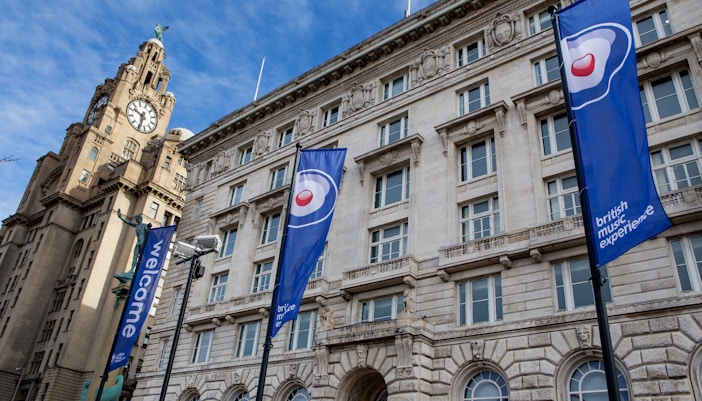
The museum sits on Liverpool’s waterfront at Pier Head, inside the Cunard Building, about a 15-minute walk from Liverpool Lime Street and close to the ferry terminal and city-center bus stops.
Cunard Building, Liverpool Waterfront, Liverpool L3 1DS, United Kingdom → Open in Google Maps
- Train: James Street station → 7-minute walk → Use the Water Street exit for the quickest route to Pier Head.
- Train: Liverpool Lime Street → 15–20-minute walk → Best if you want a straight city-center walk downhill to the waterfront.
- Bus: Pier Head stops → 2–5-minute walk → Several city-center routes stop close to the Cunard Building.
- Taxi / rideshare: Cunard Building drop-off → 1-minute walk → Easiest option if you’re arriving with children or limited time.
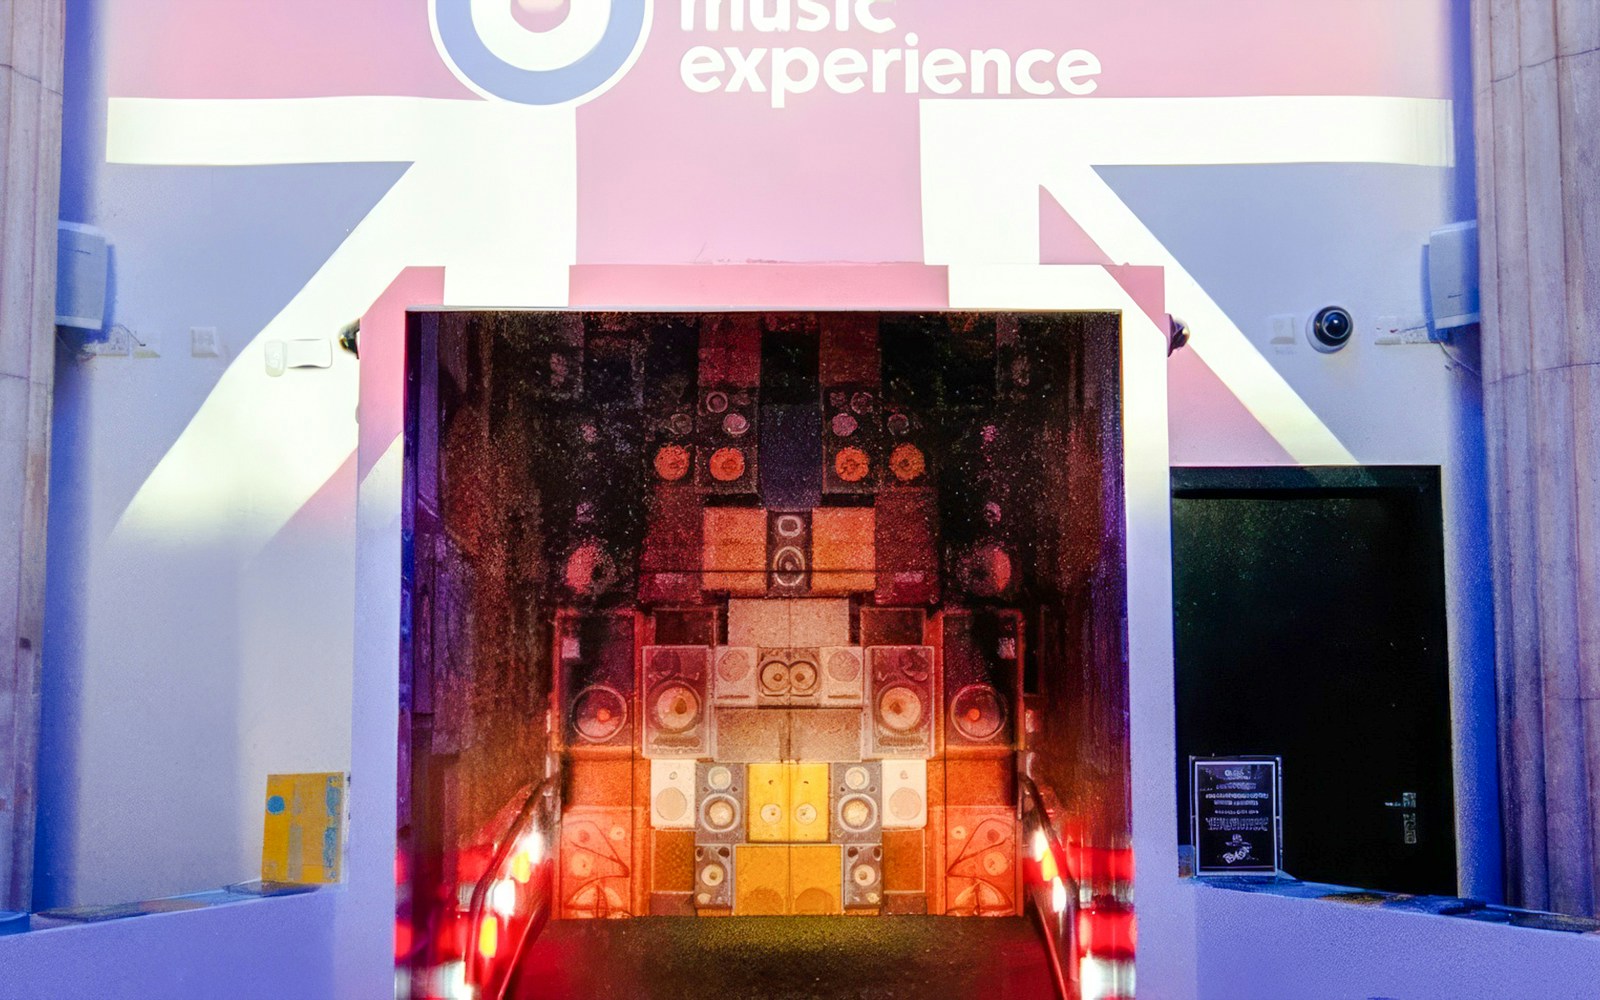
Which entrance should you use?
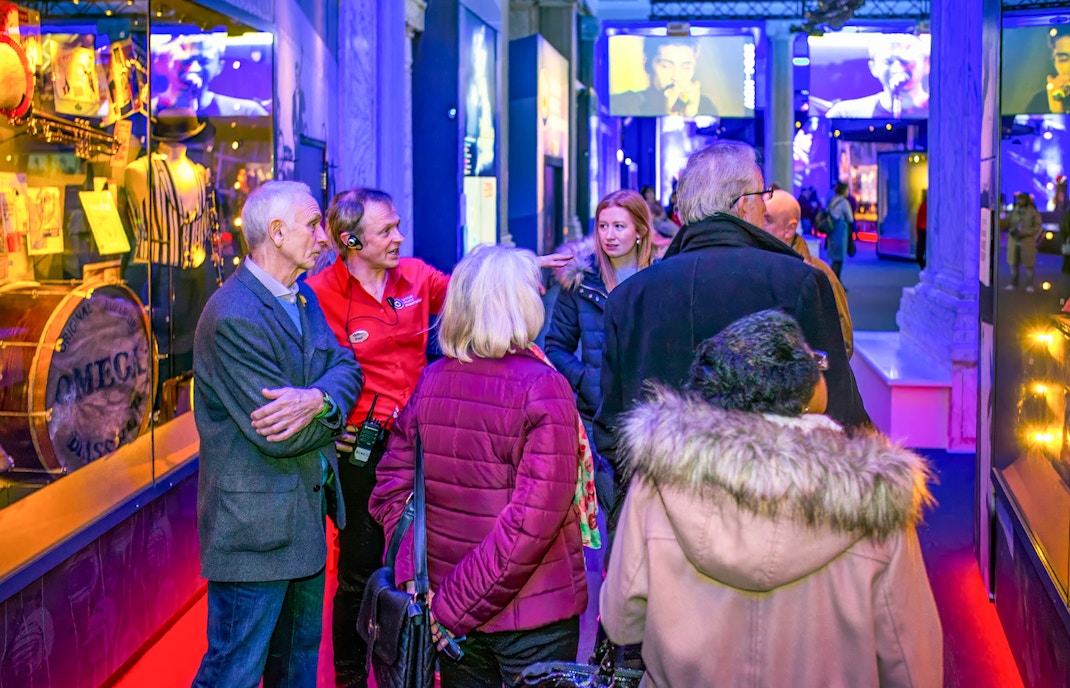
There’s one main entrance into the British Music Experience inside the Cunard Building, and the only thing visitors usually get wrong is assuming there are separate lines for prebooked and walk-up tickets.
- Main entrance: Located inside the Cunard Building on the Pier Head side. Expect 0–10 minutes’ wait on most weekday mornings and up to 15–20 minutes on busy weekends or school-holiday afternoons.

When is British Music Experience open?
- Monday–Sunday: 10am–5pm
- Last entry: 4:15pm
- Star Café & Bar: Closes at 4:30pm
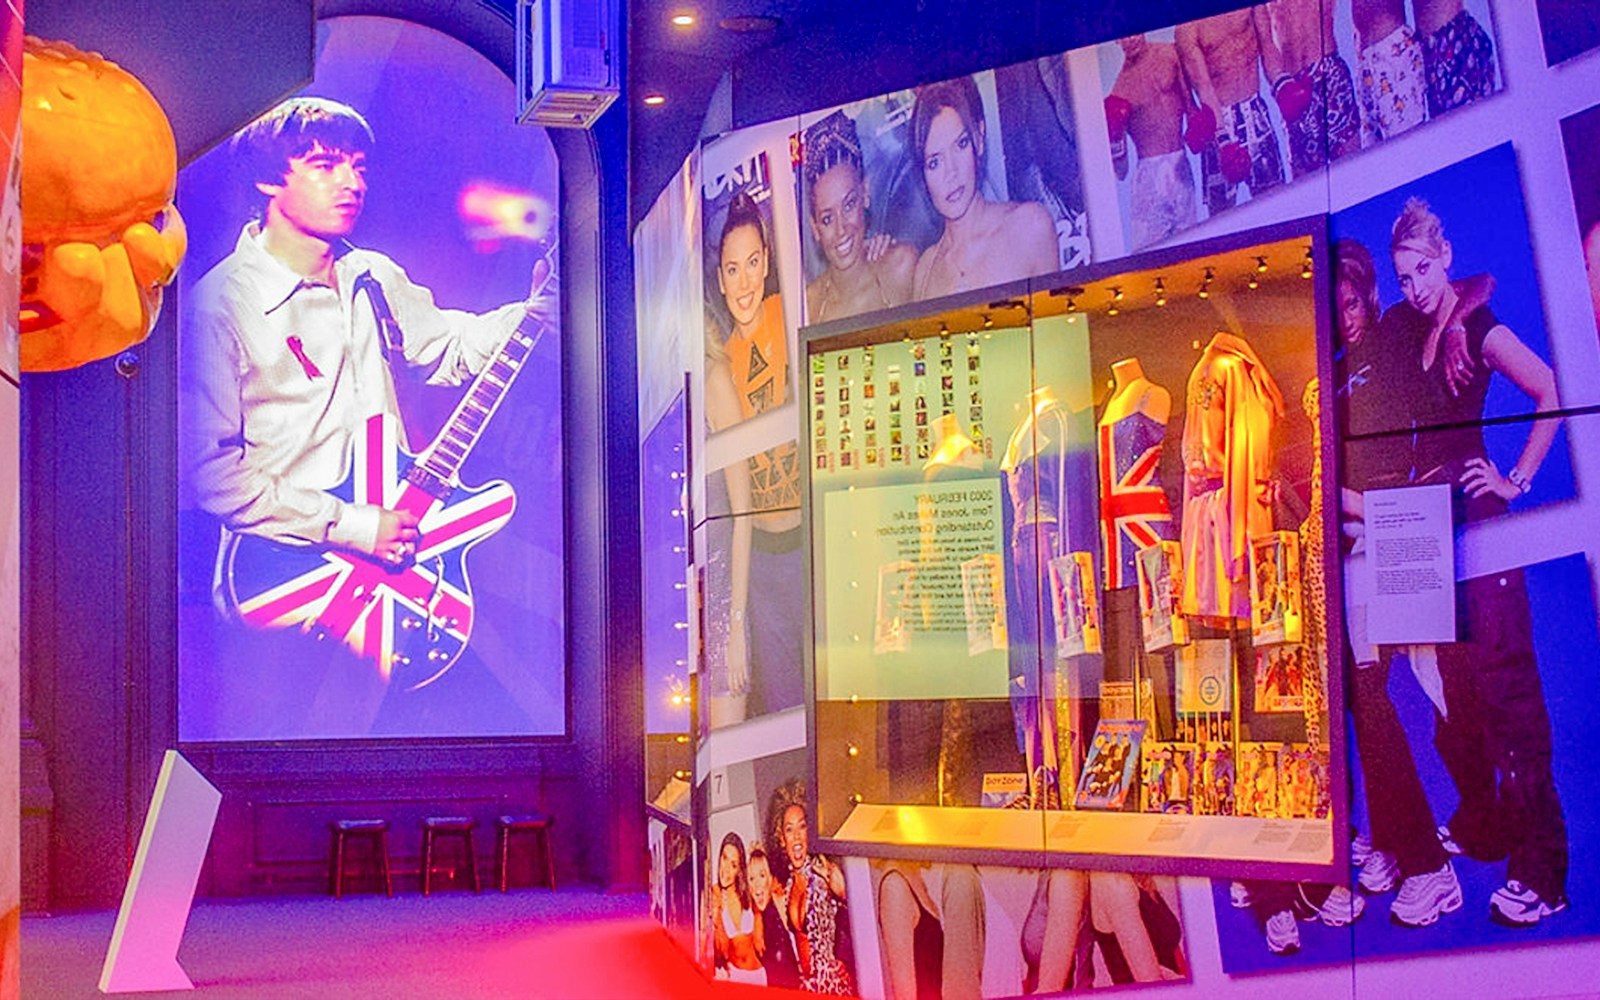
When is it busiest? Weekend afternoons, school holidays, and rainy summer days are the busiest, and the interactive rooms feel crowded before the main galleries do.
When should you actually go? A weekday slot close to opening gives you the easiest access to the Gibson studio, clearer photo opportunities, and more room to read the displays at your own pace.